
Gallery: Heysham
-

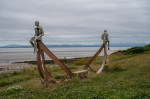
- © Sue Haddrill Arriving and Departing

-
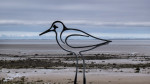
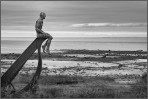
- © Sue Haddrill Silhouette

-

- © Sue Haddrill Teasel

-

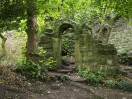
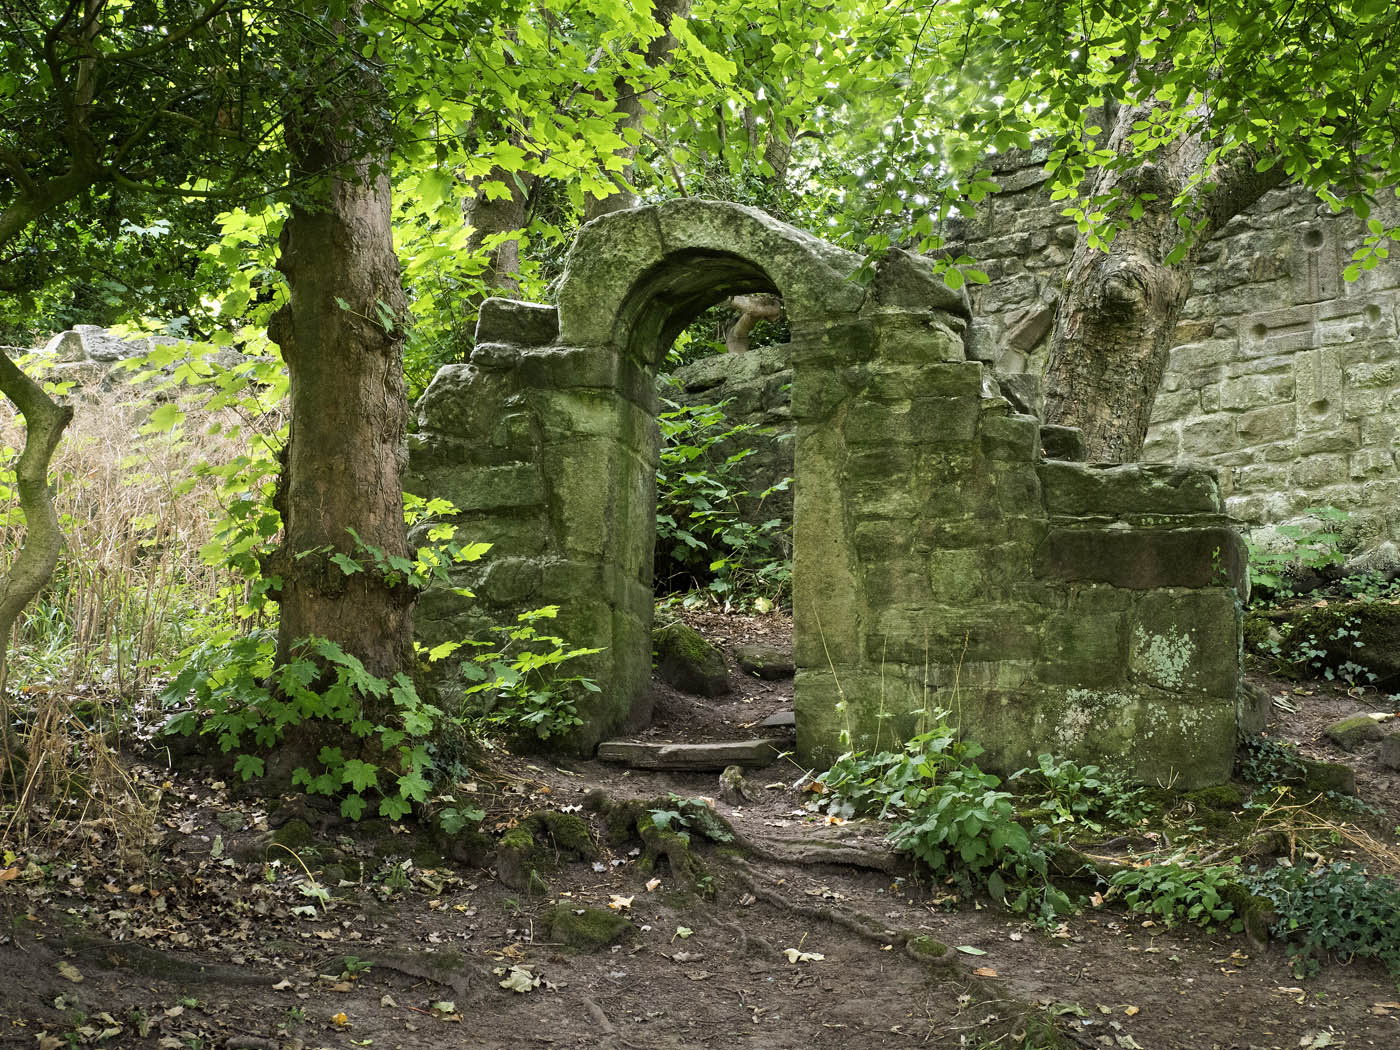
- © Sue Haddrill Through the Arch

-
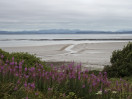
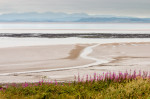
- © Sue Haddrill Looking across the Bay

-

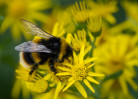
- © Sue Haddrill Bee at Work

-

- © Graham Wood The Void Within

-
- © Graham Wood Need More of These

-

- © Graham Wood A Pausing Moth

-

- © Graham Wood A Pausing Moth in B&W

-

- © Graham Wood Through the Stone Door

-
- © Gill Pinkerton View out to Sea

-
- © Gill Pinkerton Hidden Arch, Heysham Churchyard
-

- © Gill Pinkerton Mudstone Cliff

-

- © Gill Pinkerton Harebells on Heysham Cliffs

-

- © Gill Pinkerton Solitary Fisherman

-
- © Graham Wood Industrial Left, Mountains Right

-

- © Harry Pinkerton Empty coffin, St Peters Church

-

- © Harry Pinkerton St Peter's Church, Heysham

-

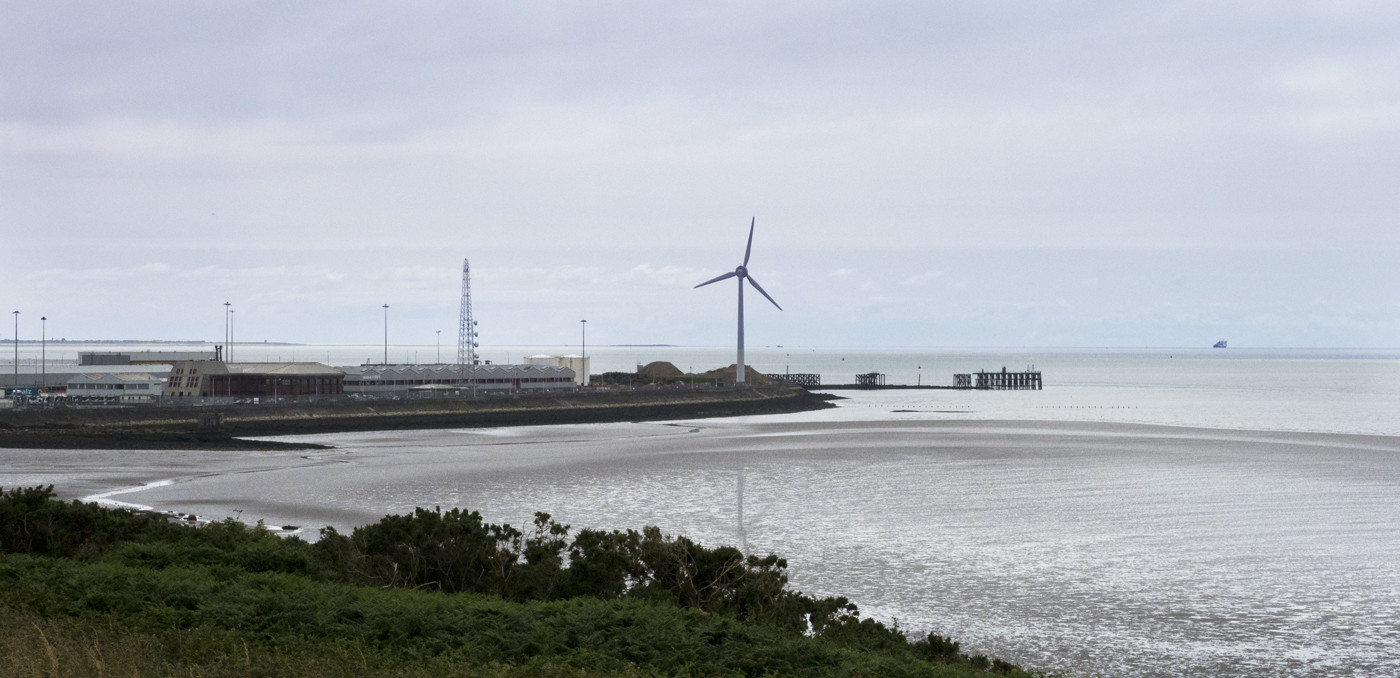
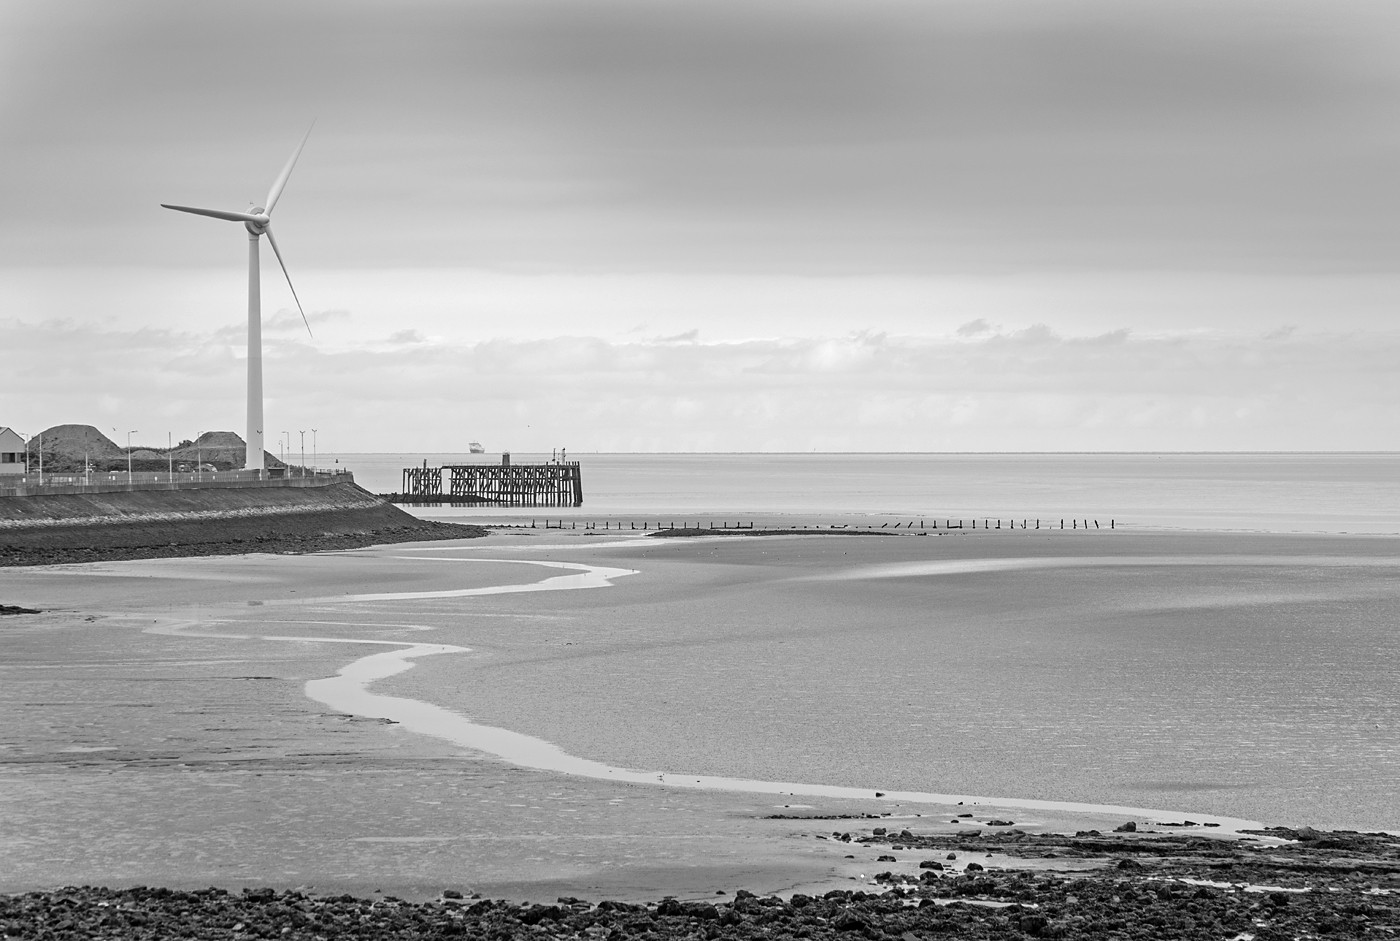
- © Harry Pinkerton Green Energy at Heysham

-

- © Harry Pinkerton How mudstone and sandstone respond to stress

-

- © Gill Pinkerton Power at Heysham
-

- © Harry Pinkerton Graveyard with a sea view

-
- © Harry Pinkerton View across Morecambe Bay

-

- © Andy Best Heysham Three

-

- © Andy Best Half moon bay rocks

-

- © Andy Best Rock formations

-

- © Andy Best Rock-Hewn Graves Heysham

-

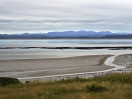
- © Andy Best The Bay Heysham

-
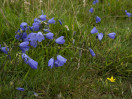
- © Sue Best Harebells

-

- © Sue Best Meadow Brown

-
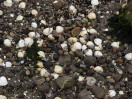
- © Sue Best Pebbles and Shells

-

- © Sue Best Teasel by the Sea

-

- © Sue Best SPG Heysham Outing

-

- © Sue Best Doorway of StPatrick's Chapel

-
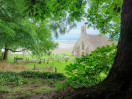
- © Ian Hughes Church

-
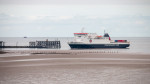
- © Ian Hughes IOM Ferry

-

- © Ian Hughes Linnet

-

- © Ian Hughes Mural

-

- © Ian Hughes Sea Plantain

-
- © Ian Hughes View

-

- © Tim Fearon Seed pods

-

- © Tim Fearon Campanula

-

- © Tim Fearon Heysham view 1

-

- © Tim Fearon Heysham view 2
-

- © Tim Fearon Bees at work
